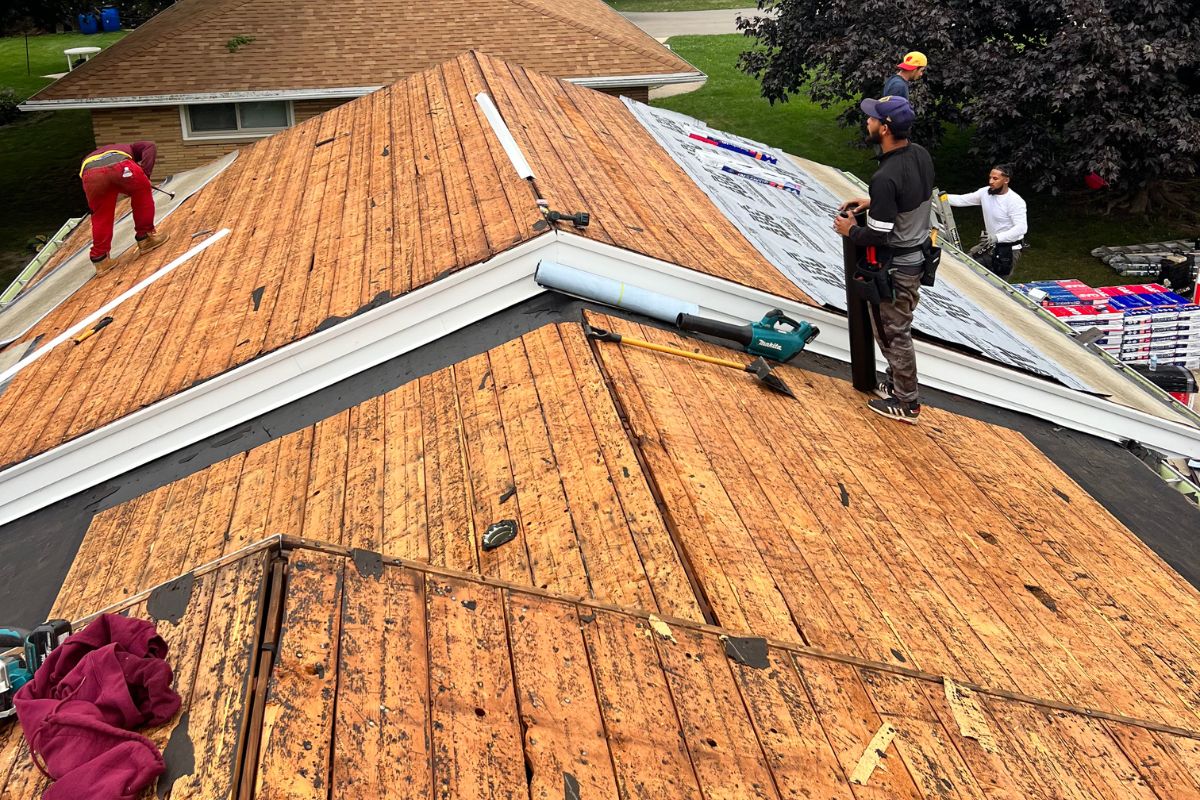
Exposed to both the icy air coming from the Arctic and the Humid air from the Gulf of Mexico, Wisconsin faces various weather conditions throughout the year. From the formation of ice dams that leak water into the inner structures of the home, by slowly compromising the roofing materials, to moulds that eat away at organic materials. These are all year-round affairs costing thousands of dollars in damages.
Detecting the leakage early can save you those thousands of dollars. Detecting the issues early on or even repairing the damages before they can worsen can save a lot in the long run, as well as maintain the longevity of the home. Get complete ideas about how to check for roof leaks.
Why Roof Leaks Are Common in Wisconsin
The harsh weather of Wisconsin is tough on roofs. For example, heavy snowfall causes ice dams, which trap water and lead to leaks. During spring, the heavy rain and high humidity encourage mold and internal damage. Strong winds tear off shingles or flashing and leave openings for water. Moreover, the constant freeze-thaw cycle damages shingles and weakens roof components.
Obvious Signs Your Roof May Be Leaking
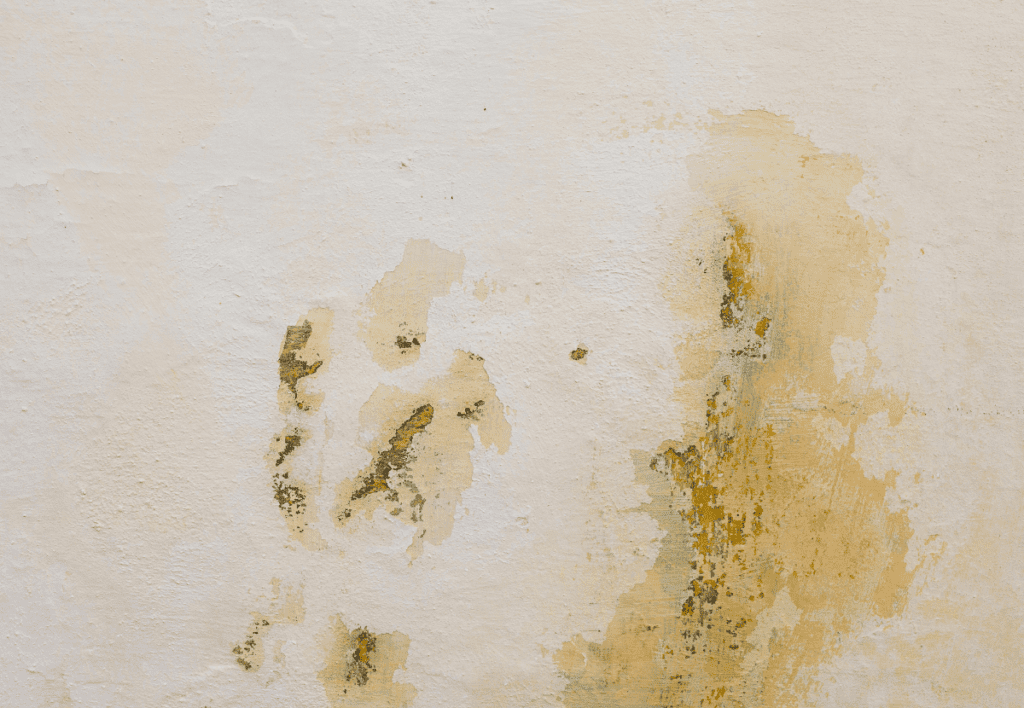
Water stains on ceilings or walls
Yellow or brown water discolorations on the ceilings or the base of the wall indicate that the leaking has been there for a long time.
Dripping water during or after rainfall
Dripping water during or after the rain means that there is a leak on the roof that is letting the water in and gathering.
Peeling paint on walls or ceilings
An excess of moisture damages the glue, keeping the paint on the wall. Furthermore, there might be air bubbles beneath the paint job, also damaging it over time.
Bubbling or blistering plaster or drywall
Bubbling or blistering of the plaster when there is pressure within the walls, occurring from a clogging of water. This makes the plaster come off and crack.
Musty or moldy odors indoors
If the indoor humidity feels constantly high, it may be because of roofing issues. A constantly damp or musty air also indicates that there might be a leak issue on the roof.
Sagging ceiling sections
Increased weight from the water through a roof leak makes the ceiling saggy, which would indicate there is possible water-related damage.
Visible moisture or puddles in the attic
Puddles or damp air in the attic also indicate that there might be water leakage problems.
Darkened or discoloured roofing materials
Discoloration or darkening of the roofing materials might also be indicators that the longevity of the materials is being compromised
Cracks in interior walls or ceilings
Cracks in interior walls or ceilings indicate damage from water expansion and contraction.

Less Obvious Warning Signs of Roof Leaks To Know
Missing, cracked, or curled shingles
Damaged shingles make room for hidden leaks as moisture finds its way through, causing more damage.
Damaged or rusted flashing around roof penetrations
Deteriorated flashing through rusting or other damage makes it more likely for there to be a leak.
Granule buildup in gutters and downspouts
Aging shingles pose a higher risk of granule buildup, which compromises waterproofing and gives way to leakage
Sagging or uneven rooflines
Any distortion in the roofing lines, such as sagging, indicates structural damage
Soft or spongy roof decking when walked on
A leak in the roof that lets moisture in would cause damage to the wood underneath, making the roof feel soft or bouncy.
Light shining through the attic roof boards
Any hole in the structure of the roof, no matter how small, indicates damage that would only worsen due to future interaction with snow and water.
Damp or moldy insulation in the attic
Wet insulation would also result in dampness in the indoor air.
Water stains around roof vents, chimneys, or skylights
Discoloration of any area may indicate a leak where water is deteriorating the organic materials
Algae or moss growth on roof surfaces
Excessive moss growth on the roof is likely to be a result of moisture, which would damage the shingles of the roof.
How to check for roof leaks
Step 1: Inspect the Attic
Inspect the attic with a strong flashlight and try to find whether there’s any sunlight or mold. You might even find black patches that occur due to water leaks. Try to see if you can feel any dampness in the wooden parts or the insulation, as the wetness from the water leak or growing mold may have caused internal damage. Learn more about the critical signs of a roof leak in the attic.
Step 2: Check Roof Conjoined Areas
Check the spots, such as chimney vents or skylights, where the different roof parts are conjoined, as they are more prone to leaks and other damages, and often let water in. Deterioration, such as rust, cracks, or missing pieces, is also prevalent in the conjoined parts if there is any leakage.
Step 3: Look for Missing or Damaged Shingles
Checks whether there are missing shingles or even cracked or bent ones on the ground. Try to see it from different angles to get a proper view of the entire roof and find damage on different peaks of the roof. These are to be done after every strong storm or rain to check whether and how much damage has occurred.
Step 4: Inspect for Aging and Debris
Look for any sort of age deterioration or pileup of roofing materials. These may occur because of rust or any other external damage due to drastic weather conditions. Check whether there is a pileup of minor debris on the roof, such as branches of trees, dirt, or leaves.
Step 5: Check Gutters for Granules or Blockage
Look thoroughly to ensure whether there is any blockage of the gutters because of shingle granules, as it may indicate the compromised longevity of the shingles of the roof. A buildup that has a sandy look to it is often caused by granules and must be cleared promptly so that it doesn’t gather and cause issues such as clogging or damaging the drain.
Step 6: Spray Water to Identify Leaks
Spraying water on the roof would be an easy way to find any obvious leakage or issues on the roof. Make sure to do it section by section while giving each segment ample time to make sure that small leaks or issues are not overlooked and are noticed. Start from the bottom of the roof and gradually go upwards to be able to logically check for possible issues. This will ensure that they do not turn into bigger problems in the future.
Step 7: Hire a Roofing Professional
Contact a professional to ensure that all the apparent issues are sorted out while also being able to do a more thorough checkup of the roofing conditions. Make sure to take photos of the issues you have found to be able to show the professional. Furthermore, make sure that you have checked the license of the professional.
Common Leak Entry Points to Check
- Around skylights and vent boots.
- At the valleys where two roof slopes meet.
- Around chimney flashing and roof penetrations.
- Ice dam buildup along eaves.
When to Call a Roofing Professional in Wisconsin
There are a few apparent conditions when one needs to call a roofing professional. Firstly, when one notices a clear leak on the roof. Secondly, if there is any damage due to fire, pests or storms. These require urgent contact. Lastly, missing or broken shingles and issues with flashing indicate structural damage. These make it necessary for there to be an annual inspection. If you are in Wisconsin and you think you need a highly professional company, then contact Northern Generation to inspect your roof and for effective roof repair solutions. We are local, licensed and insured.
Cost of Roof Leak Repairs in Wisconsin
The repairing costs in Wisconsin, on average, costs from $912 to $1114. This depends on varying circumstances, such as the location of the leak, as well as how severe the damage is.
Preventing Roof Leaks in Wisconsin
- Make sure to regularly check roof health and the longevity of the materials
- Regularly clean the gutters to make sure there is no clogging.
- Check the state of the shingles, replace or repair if necessary.
- Make sure that the insulation and ventilation are in proper condition.
- In areas that constantly receive more weather pressure, install water shields.
- Seal the areas around the flashing.
- Address the minor issues promptly and don’t worsen.